CLICK FOR STEP BY STEP INSTRUCTIONS
- Scroll to the “Step One Settings” header.
- Check the box if you would like the birthdate field displayed on the application form (*this will become a required field).
- Check the box if you would like only the required contact information fields displayed on your application form (name, address, email and one phone number).

- Check the box if you would like clients to accept your policies as the first step in completing the application form (note: there is no formal signature required or record of acceptance, however they cannot proceed until they check the box).
- Check the box if you would like these client policies displayed at the top of the user registration page.

- Enter your text for the following:
- “Policy title” that will display above your client policies text;
- “Policy Acceptance Checkbox label” that will display beside the checkbox that applicants must check in order to acknowledge that they agree with your client policies;
- “Policy Button Text” that will display in the button that applicants can click on to view your policies (if they are not displayed in the page).

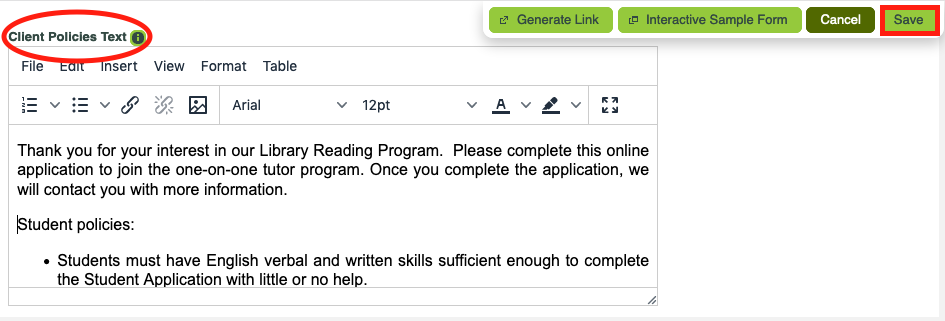
- Enter text in the ‘Client Policies’ field.
- Click the [Save] button and continue to ‘Step Two Settings’


